
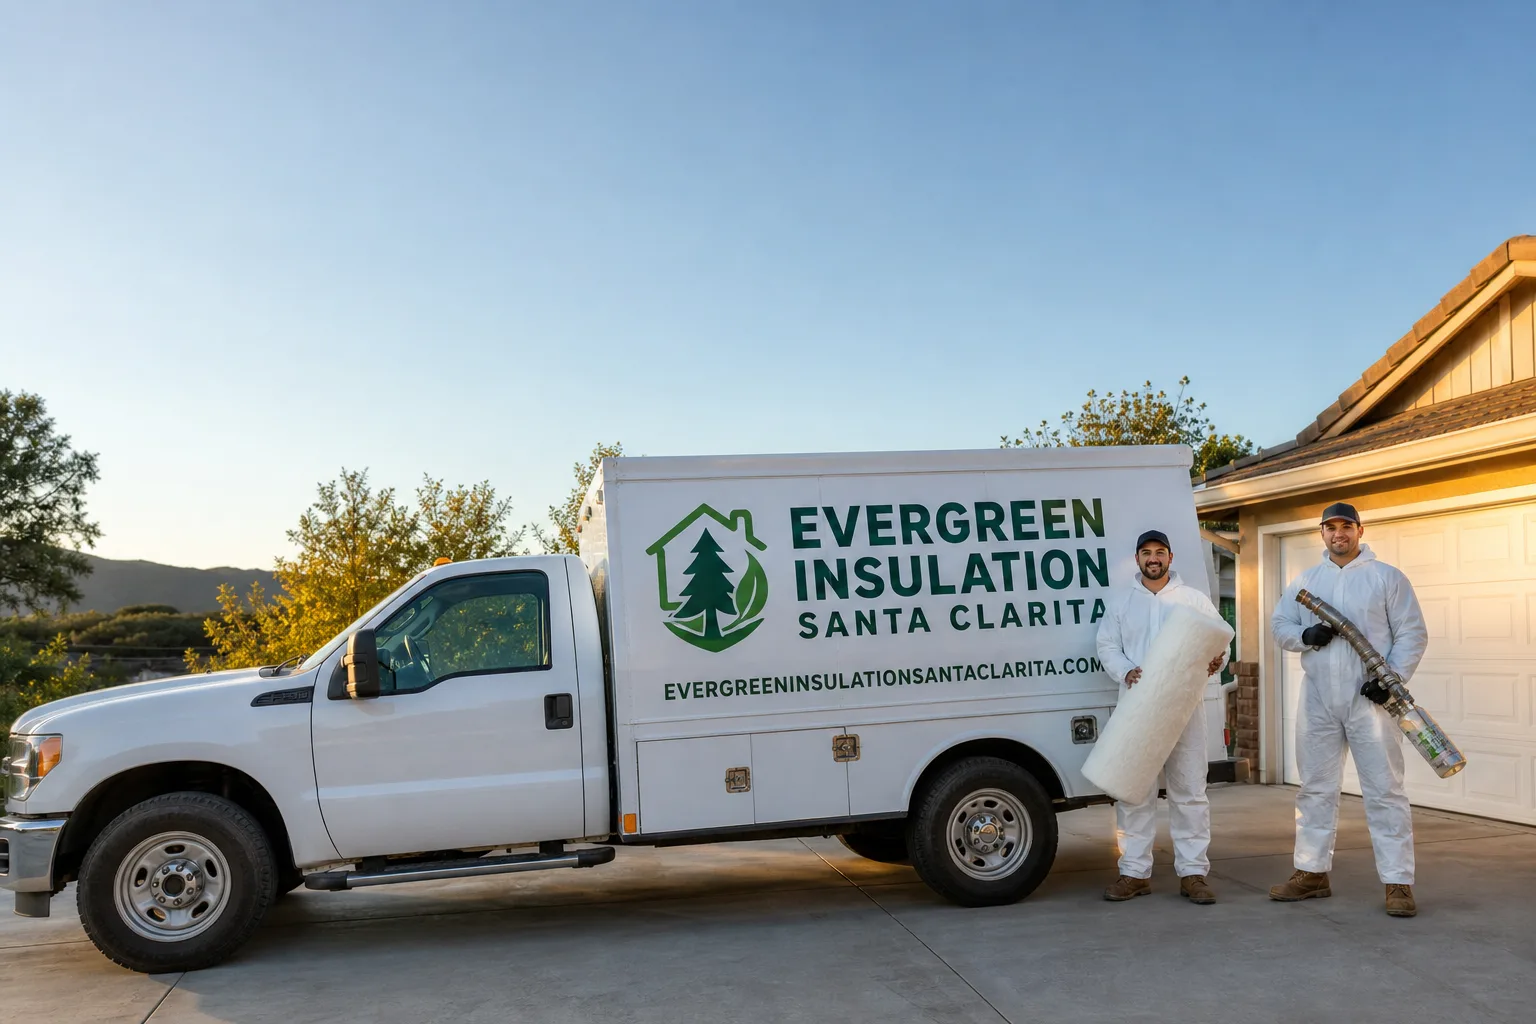
Trusted Radiant Barrier Installation for Santa Clarita Homeowners
Santa Clarita Radiant Barrier Installation typically runs $1,800 to $4,200 for a standard attic application, and most projects are completed in a single day. We install radiant barriers that reflect up to 97% of radiant heat before it ever reaches your insulation, which means your attic stays measurably cooler and your air conditioner doesn’t work nearly as hard. If your upstairs rooms hit 85 degrees by mid-afternoon while the thermostat downstairs reads 72, you’re fighting a radiant heat problem that insulation alone won’t solve. Call Rob at (661) 669-8515 and he’ll walk your attic personally before recommending anything.
Evergreen Insulation has been sealing the whole thermal envelope in Santa Clarita homes for years, and radiant barrier work is one of the most cost-effective upgrades we do. The owner, Rob Callahan, assesses every project himself, installs the material himself, and stands behind the finished job. That’s not a sales pitch. It’s how we’ve always operated.
What Our Radiant Barrier Installation Service Includes
Radiant barrier isn’t one product. It’s a category of reflective material that works differently depending on where it’s installed and how your attic breathes. We assess before we recommend, and the right material for your home’s specific condition depends on roof pitch, existing insulation depth, duct placement, and ventilation. Here’s what we install in Santa Clarita and how each application actually works.
Attic Radiant Barrier
A standard attic radiant barrier installation in Santa Clarita involves stapling a reinforced foil layer to the underside of your roof rafters, creating a reflective surface that bounces heat back toward the roof deck before it radiates into your attic space. This is the most common application for homes with asphalt shingle roofs, which absorb enormous solar load during our 100-degree summer stretches. When we install an attic radiant barrier, we first check that your attic ventilation is balanced and your existing insulation depth is adequate, because a radiant barrier works in tandem with both. Rob Callahan measures the roof deck temperature before and after whenever possible so you can see the difference with actual data, not a brochure number.
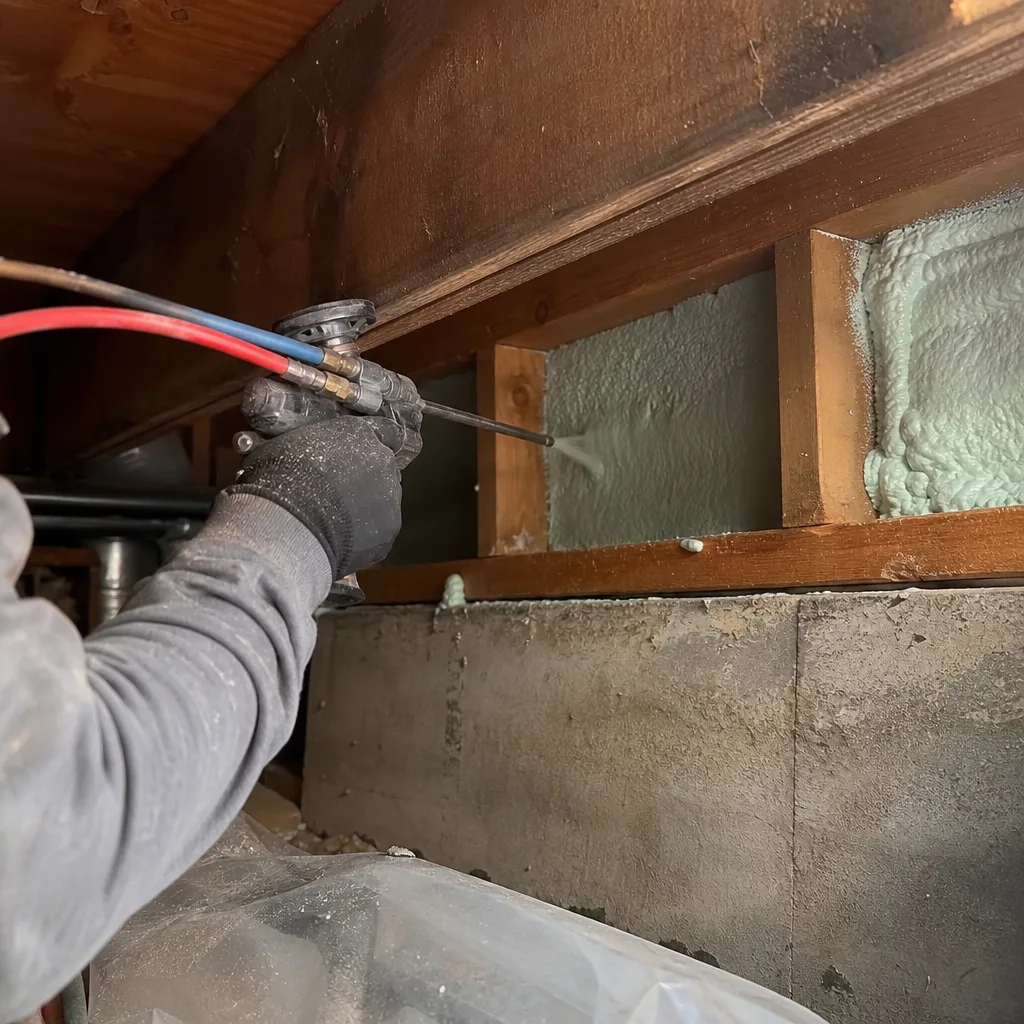
Radiant Barrier Foil
Radiant barrier foil is the material itself: a double-sided, perforated aluminum sheet laminated to a woven scrim for tear resistance. Perforation matters in Santa Clarita because it allows moisture vapor to pass through, which prevents condensation from getting trapped against the roof deck during our cooler winter nights. We stock foil from Johns Manville and CertainTeed, and we choose the thickness and perforation pattern based on whether the material goes against the rafters, over existing insulation on the attic floor, or inside a wall cavity. Foil installed incorrectly can cause more problems than it solves, which is why we never treat it as a one-size-fits-all product.
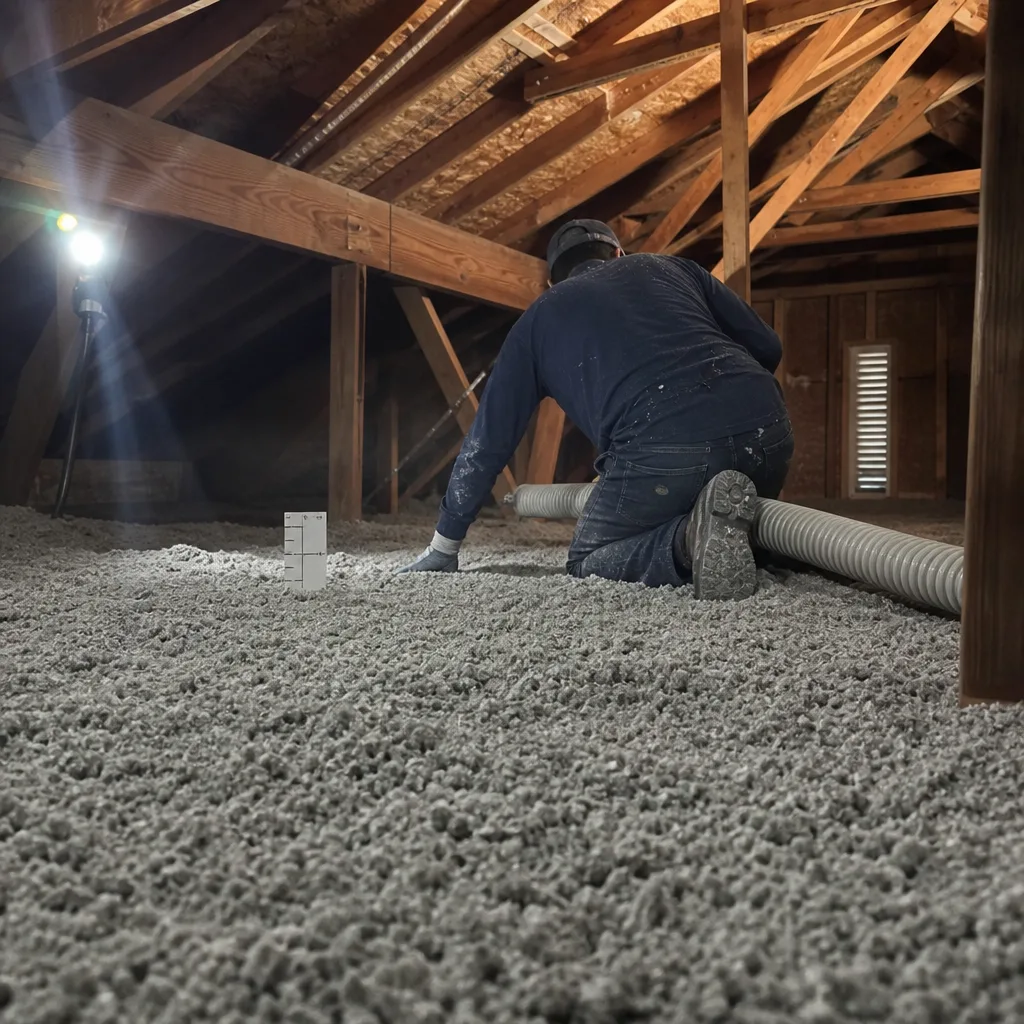
Radiant Barrier Roof Deck
A radiant barrier roof deck application attaches the reflective material directly to the underside of the roof sheathing, which is the most effective configuration for reducing heat gain from the roof itself. This is common in newer Santa Clarita construction where the HVAC system and ductwork run through the attic, because the ducts get blasted by radiant heat every afternoon and the air inside them picks up measurable temperature rise. We install roof deck radiant barrier with an air gap, not flat against the sheathing, because the air space is what allows the material to actually reflect heat instead of conducting it through. In homes where the roof deck is difficult to access, we may recommend a floor-application radiant barrier instead, and we’ll explain why.
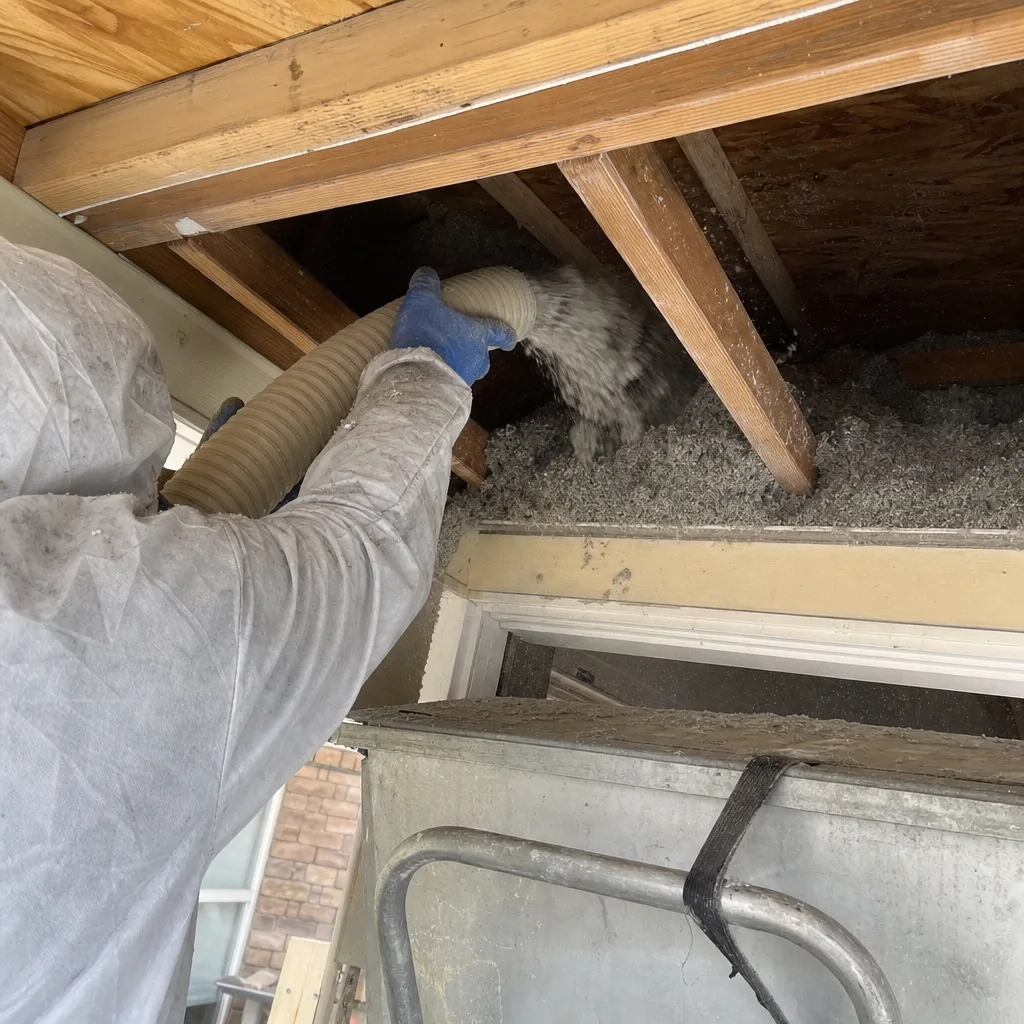
Radiant Barrier & Ventilation
Radiant barrier only performs correctly when attic ventilation is working. In Santa Clarita, that means soffit vents, ridge vents, gable vents, or a combination that keeps air moving from low to high. When Evergreen Insulation installs radiant barrier, we check that your intake vents aren’t buried under insulation, your exhaust vents aren’t blocked, and your attic isn’t trapping a superheated air layer that defeats the purpose of the barrier. If ventilation needs work, we address it before or during the radiant barrier installation, because half-measures don’t hold up in Santa Clarita’s July heat. Seal the whole envelope means the attic system, not just the shiny material.
What happens when you call
- 1
A real person answersNo phone trees — you reach a local pro.
- 2
You get an upfront price rangeHonest numbers before anyone is dispatched.
- 3
A background-checked tech heads outLicensed & insured, dispatched right away.
- 4
You approve before work beginsNothing starts until you say go.
Brands We Service for Radiant Barrier Installation
Evergreen Insulation works with radiant barrier materials from Johns Manville, CertainTeed, and Knauf. Each of these manufacturers makes a different grade of reflective foil, and we’ve installed enough of each to know where they perform best. Johns Manville’s perforated foil is our go-to for rafter applications where moisture transfer is a concern, because the perforation pattern balances reflectivity with vapor permeability. CertainTeed’s reinforced radiant barrier holds up well in roof deck applications where stapling stress and temperature swings are more extreme.
Knauf’s reflective products pair well with their insulation lines, which makes them a practical choice when we’re doing a combined attic insulation and radiant barrier project. We don’t push a brand because we stock it. The right material for your home’s specific condition is what we recommend, whether that’s Johns Manville, CertainTeed, Knauf, or a specialized product we source for unusual attic configurations. If you have an existing radiant barrier that’s sagging or underperforming, we can assess whether repair or replacement makes more sense.
Signs You Need Radiant Barrier Installation Right Now
- Your upstairs rooms run 8 to 12 degrees hotter than downstairs. This temperature gap is the classic radiant heat symptom. Insulation slows conductive heat, but it doesn’t stop radiant heat from the roof deck from baking the attic air and everything below it. A radiant barrier targets exactly this problem.
- Your air conditioner runs constantly from June through September. If your AC never cycles off during Santa Clarita’s hot months, your attic is likely acting as a heat reservoir that radiates back into your living space all evening. Reducing radiant gain means the system actually gets a break.
- Your attic feels like a furnace when you open the hatch. A properly vented attic should be warmer than outside but not unbearable. If the air up there hits 140 degrees on a 95-degree afternoon, your ductwork and ceiling are absorbing that heat, and it’s costing you money every hour.
- Your energy bills spike even when your thermostat setting hasn’t changed. Rising per-kWh costs explain part of the increase, but if your usage is climbing year over year, your home’s thermal envelope is losing the battle. A radiant barrier is one of the most affordable ways to cut overall cooling load.
- Your ductwork runs through the attic. This is the single most overlooked reason Santa Clarita homeowners need radiant barriers. Ducts in a 130-degree attic lose cold air to heat gain before it reaches the registers, which means your AC works harder to deliver lukewarm air. Reflecting that heat at the roof deck protects the entire duct run.
Our Radiant Barrier Installation Process — Step by Step
- 1
Attic assessment and energy audit. Rob Callahan walks the entire attic, checks insulation depth, ventilation balance, duct condition, and roof deck accessibility. He uses an infrared thermometer to measure surface temperatures in multiple zones. You get the actual numbers before any recommendation is made.
- 2
Material recommendation and scope. Based on the assessment, Rob recommends the right radiant barrier product for your home’s specific condition, whether that’s rafter-mounted Johns Manville foil, CertainTeed roof deck application, or a floor-application barrier over existing insulation. The scope includes the exact square footage, material spec, and a line-item quote.
- 3
Prep and ventilation check. We make sure soffit vents are clear, baffles are in place where needed, and attic airflow is working before we staple up a single square foot of foil. If ventilation needs correction, we do it now, not after the barrier is installed.
- 4
Installation. Rob installs the radiant barrier himself, which means the person who measured and specified the job is the same person stapling, cutting, and sealing it. Staples go every 6 to 8 inches along the rafters or decking, seams overlap properly, and the barrier is pulled taut so it reflects consistently across the entire surface.
- 5
Post-installation verification. After the material is up, Rob takes another round of temperature readings to document the difference. You’ll see the before and after numbers. If you have questions about the install or want an explanation of what was done and why, Rob walks you through it before he leaves.
How Much Does Radiant Barrier Installation Cost in Santa Clarita?
A typical attic radiant barrier installation in Santa Clarita runs $1,800 to $2,800 for homes up to about 1,800 square feet of attic floor space. Roof deck applications run higher, typically $2,600 to $4,200, because the material is more labor-intensive to install correctly and the stapling pattern matters more. Radiant barrier foil over existing attic floor insulation is usually the least expensive option, running $1,200 to $2,000 for most homes.
What drives the price: attic size and accessibility, roof pitch, how much existing insulation needs to be worked around, and whether ventilation corrections are needed before the barrier goes up. Homes with low-slope roofs or tight rafter bays take longer. What keeps the price honest: we quote by the square foot, show you the exact material we’re using, and don’t add fees for things we didn’t discuss. A free estimate includes the attic walk, temperature readings, and a written scope that spells out every line item. You’ll know the price before any work starts, and it won’t change because we discovered something mid-project.
Radiant Barrier Installation Near Santa Clarita — Our Service Area
Evergreen Insulation serves Santa Clarita and the surrounding communities including Stevenson Ranch, Castaic, Agua Dulce, San Fernando, and Santa Susana. Most radiant barrier installations in these areas are scheduled within a week of the estimate, and single-day completion is standard. We also work in nearby Calabasas and Agoura Hills for homeowners who want the same owner-on-every-job standard. Whether you’re off McBean Parkway in Valencia or up in the hills near Sand Canyon, the same assessment process applies: we walk the attic, take measurements, and recommend what actually fits your home.
Serving Santa Clarita, CA — Our Local Coverage Area
We’re based in the Santa Clarita area and know this community well. Use the map below to see our service coverage — if you’re nearby, we can almost certainly help.
Frequently Asked Questions — Radiant Barrier Installation in Santa Clarita
Radiant barrier installation is the process of securing a reflective foil material to the underside of your roof rafters, against the roof deck, or over attic floor insulation. The material reflects radiant heat from the sun back toward the roof instead of letting it radiate into your attic and living space. In Santa Clarita’s climate, a properly installed radiant barrier can reduce attic temperatures by 20 to 30 degrees on hot afternoons, which directly reduces the workload on your air conditioning system. Call (661) 669-8515 to have Rob assess your attic and explain what a radiant barrier would do for your specific home.
Most radiant barrier installations in Santa Clarita are completed in one day, typically 4 to 8 hours depending on attic size and accessibility. Roof deck applications take longer than rafter-mounted foil because the stapling pattern is more precise and the work is more physically demanding. We schedule the entire job for one visit, and Rob is on-site from start to finish. Before you book, we’ll give you a realistic time estimate based on the actual square footage and configuration of your attic.
Expect to pay $1,800 to $4,200 for radiant barrier installation in Santa Clarita, with most standard attic applications landing between $1,800 and $2,800. Floor-application foil is less expensive, and roof deck applications run higher due to labor intensity. The exact quote depends on your attic’s size, access, and whether ventilation work is needed. Estimates are free, and the price we quote is the price you pay. Call (661) 669-8515 to schedule an attic assessment and get a written quote.
Yes, radiant barrier works in tandem with existing insulation. Fiberglass batts, blown-in cellulose, and spray foam all slow conductive heat transfer, while radiant barrier addresses radiant heat, which is a different mechanism entirely. In most Santa Clarita homes, we install the barrier above the insulation or on the rafters, not replacing it. If your insulation depth is below recommended levels, Rob will tell you, and we can address both in the same project.
Radiant barrier installation is rarely an emergency, but if you’ve had a roofing repair or animal damage that tore down existing barrier material, we’ll work to get you scheduled quickly. Same-week appointments are usually available for Santa Clarita homeowners. Call (661) 669-8515 and tell us what happened. We’ll be straight with you about timing and what the repair involves.
Yes, our radiant barrier installations include a workmanship warranty, and the materials themselves carry manufacturer warranties from brands like Johns Manville, CertainTeed, and Knauf. A properly installed radiant barrier should last 15 to 20 years with no maintenance. If the foil ever sags, tears, or loses adhesion due to installation error, we fix it. Rob Callahan stands behind every job he installs, and he’s the one you’ll talk to if anything ever comes up.
There’s not much you need to do before we arrive. Clear a path to the attic access point, and if the attic hatch is in a closet, move items out of the way so we can get a ladder in safely. If you have stored belongings in the attic, they don’t need to be removed unless they block the areas where the barrier will be installed. Pets should be kept away from the work area. We handle everything else, including cleanup.
Schedule Your Radiant Barrier Installation Service in Santa Clarita Today
Ready to stop paying for heat that never needed to get into your house in the first place? Call Evergreen Insulation at (661) 669-8515 for a free estimate. Rob Callahan will walk your attic, take real temperature measurements, and give you a straight answer about whether radiant barrier is the right move for your home. No pressure, no inflated quotes, no work you don’t need. Just an honest assessment from the person who’d be doing the installation.
Written by Rob Callahan, Owner and Lead Installer at Evergreen Insulation, serving Santa Clarita and surrounding communities.